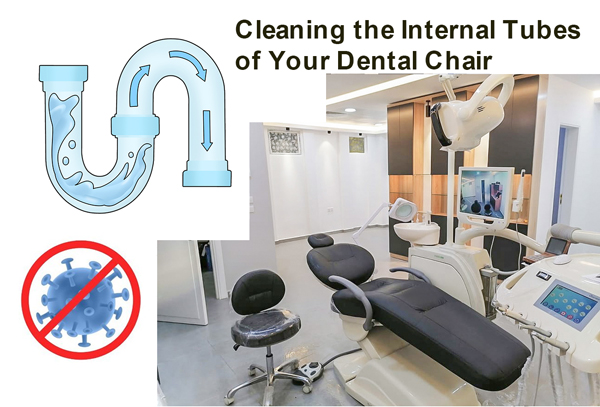
Ensuring a sterile and sanitary dental environment is of paramount importance for the health and safety of dental practitioners and patients alike. Among the various components that require regular maintenance, the internal tubes of a dental chair often go unnoticed. Properly cleaning these tubes not only prevents the accumulation of contaminants but also enhances the longevity of your equipment. This article will provide a comprehensive step-by-step guide to effectively cleaning the internal tubes of your dental chair, promoting a clean and hygienic workspace.
Preparation and Safety Measures
Before embarking on the cleaning process, gather the necessary materials: rubber gloves, a mask, warm water, detergent, and a soft brush. Prioritize safety by ensuring that the dental chair is powered off. Don rubber gloves and a mask to minimize the risk of contamination during the cleaning procedure.
Step-by-Step Cleaning Process
1. Clean the Exterior Surface: Initiate the process by wiping down the outer surface of the dental chair using a damp cloth. This preliminary step helps eliminate surface dust and dirt, preventing their introduction into the internal system.
2. Empty the Water Tank: If your dental chair incorporates a water tank, empty it in preparation for the cleaning process.
3. Prepare the Cleaning Solution: Follow the instructions provided by the cleaning agent to create a cleaning solution. Mix an appropriate amount of detergent with warm water to form the solution.
4. Connect Tubes and Introduce Solution: Pour the cleaning solution into the water tank and establish connections with the internal tubes. This facilitates the flow of the solution through the tubes.
5. Flush the Tubes: Activate the water source to initiate the flow of the cleaning solution through the internal tubes. This action dislodges and removes accumulated debris and bacteria.
6. Allow for Dwell Time: Adhere to the recommended dwell time specified in the cleaning agent’s instructions. This crucial step ensures a thorough and effective cleaning process.
7. Rinse the Tubes: Once the dwell time has elapsed, reactivate the water source to thoroughly rinse the tubes, ensuring the complete removal of any residual detergent.
8. Clean the Water Tank: Drain the cleaning solution from the water tank and meticulously rinse it with clean water.
9. Drying and Disinfection: Employ a clean towel to dry the water tank and tubes. Subsequently, apply a disinfectant to sanitize the internal surfaces, promoting a sterile environment.
10. Turn off the Water Source: Disconnect the tubes and turn off the water source, signifying the conclusion of the cleaning process.
11. Organize Equipment: Arrange all materials in a systematic manner, upholding an orderly and clean interior within the dental chair.
12. Tidy the Work Area: Dispose of used materials properly and sanitize the work area, ensuring a hygienic setting for future dental procedures.
Routine cleaning of the internal tubes within your dental chair is an essential practice for preserving a clean and secure dental office environment. The step-by-step guide provided in this article equips you with the knowledge to effectively eliminate contaminants and maintain the integrity of your dental equipment. Always remember that different dental chair brands and models may have distinct cleaning requirements, necessitating adherence to the manufacturer’s guidelines and instruction manual. By prioritizing cleanliness and adhering to proper safety protocols, you contribute significantly to the overall well-being of both your patients and dental team.
Post time: Aug-09-2023

